Hey everyone! This blog post will be showing how to decorate a pair of white shoes just by using sharpies. When I imagined the final product of these shoes I never would of guessed they would be so cute and easy to make!

To make the shoes you need: white shoes (I got mine at Target for $17), thick sharpies, sharpie fabric pens, or thin sharpies, pencil may be helpful.

I chose to use a mint-green colored sharpie for the polka dots on the shoe, a pink sharpie to outline the shoe and to color the shoelaces, and a light blue sharpie for the monogram on the back. You can choose to use any types of sharpies and any colors you like.
The first step is take your selected sharpie and use it to outline the soles of the shoe. Start in the center of the rubber part of the shoe and slowly dragged my sharpie across the whole shoe. A tip for this part is to never stop moving the sharpie because if you do it causes uneven lines.

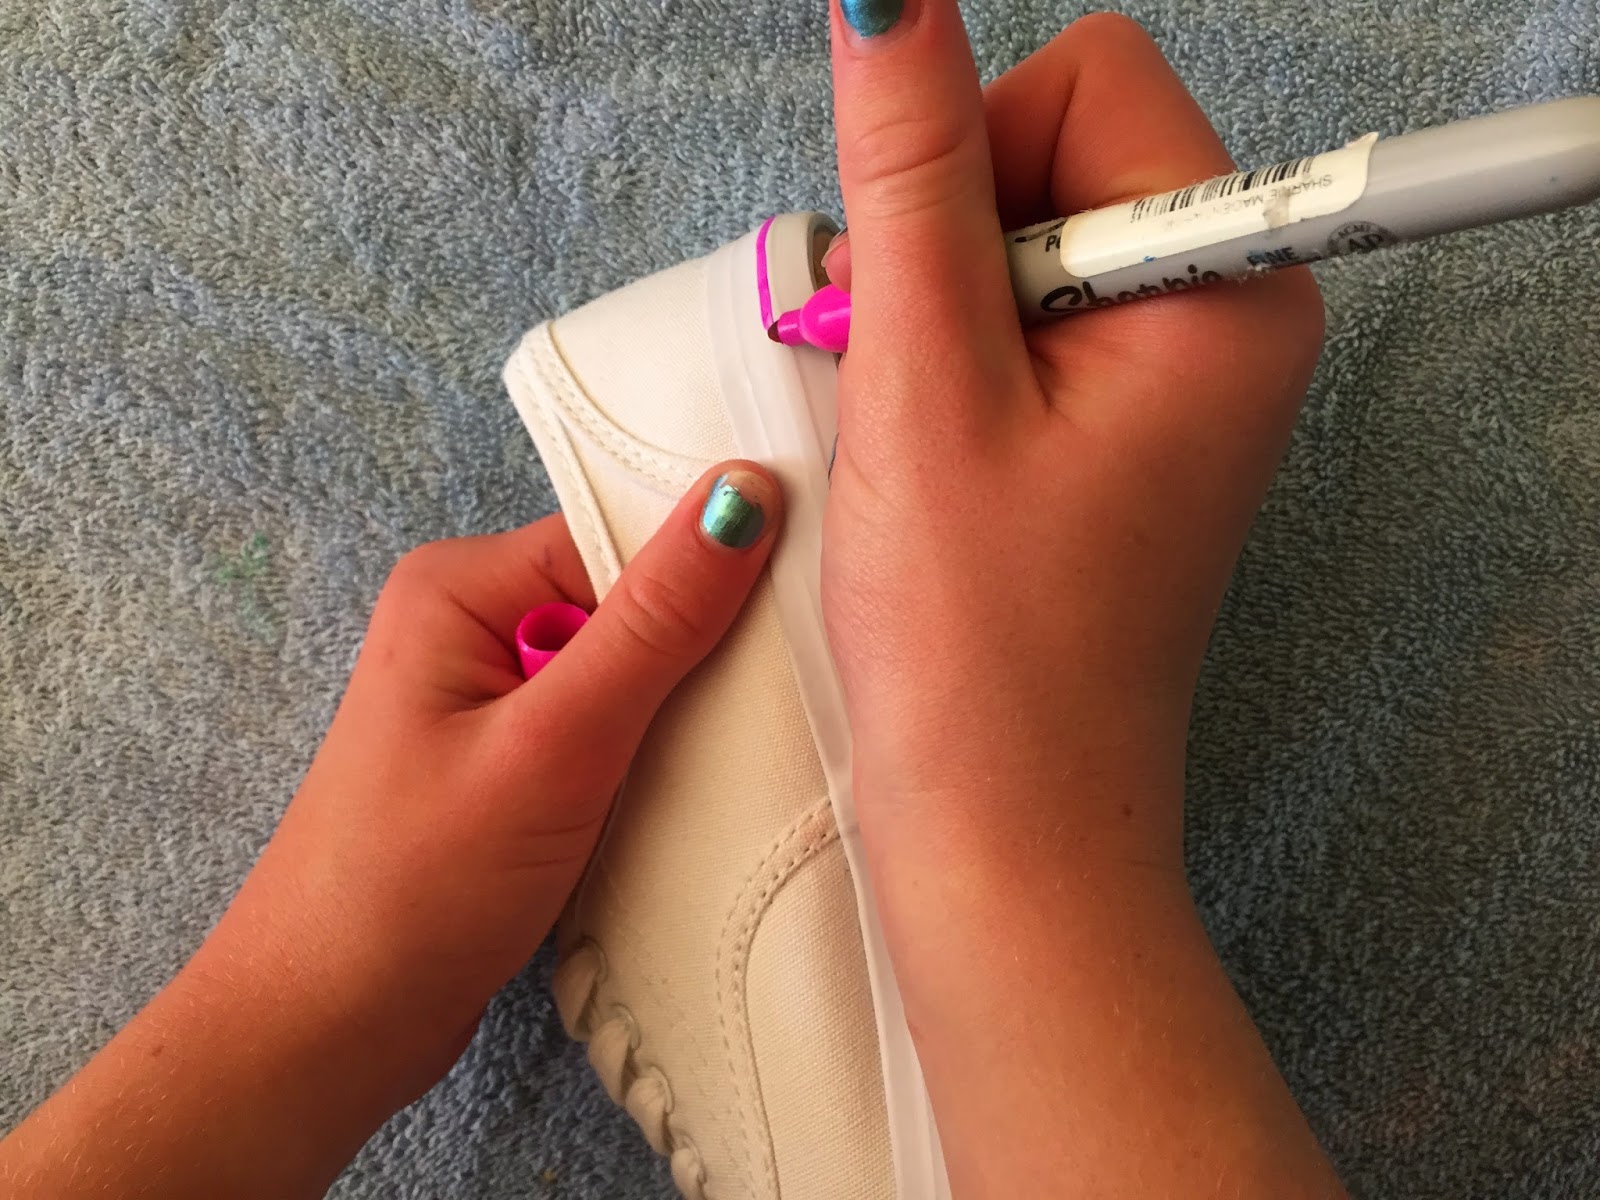

Next, color the plastic parts of the shoelaces the same color as you outlined the sole of the shoe.

After that, choose a spot to start on the shoe and use a different color to make 1/2 an inch sized polka-dots. Then, keep drawing polka-dots all over the shoe using a constant space between each polka-dot. Just remember that these polka dots are hand-drawn, so they won't be perfect.


Once, all of the polka-dots have been drawn, take the same color that outlined the shoe (pink in this tutorial) and color in the raised outlined parts of the shoe as shown in the picture below.


Lastly, using the third colored sharpie chosen, write your initials on the back of the shoe. This is one of my favorite touches because it gives the shoes a personal touch.

Now, all that's left to do is the other shoe!


Thanks for reading! The next post will be up soon! If you enjoyed reading this, please subscribe to Soph Crafty to get weekly emails about the blog. You will also be notified whenever a post comes up.
No comments:
Post a Comment